Dadafu
A family building guide
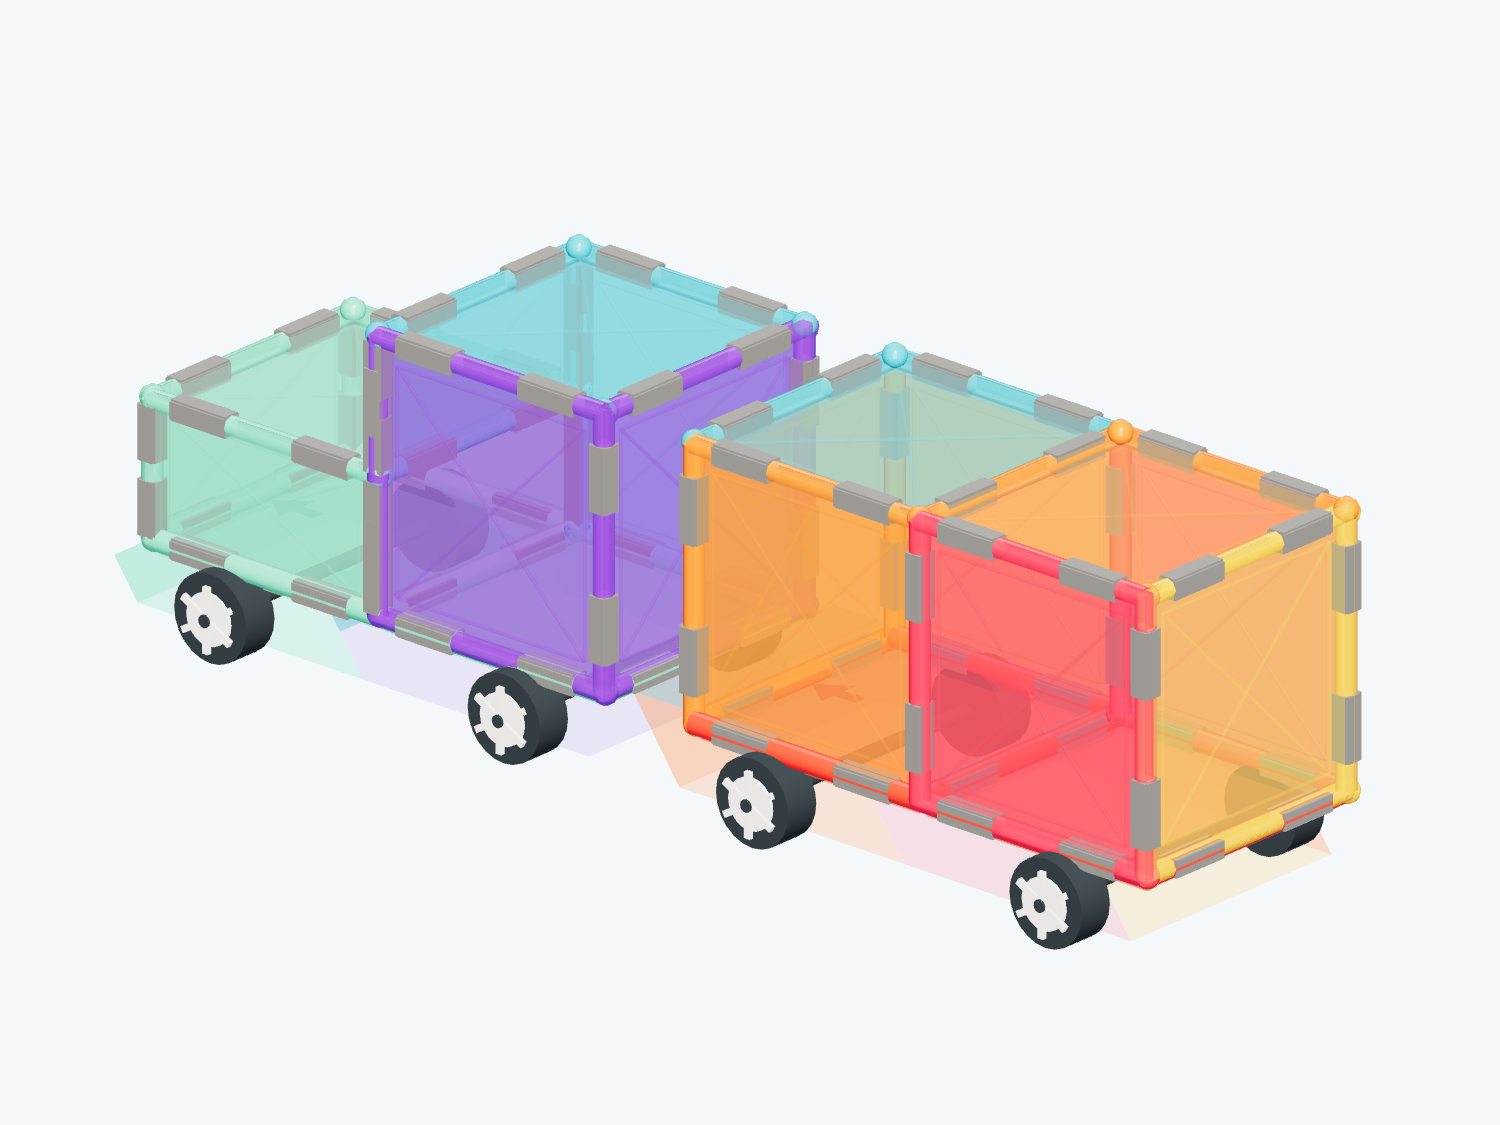
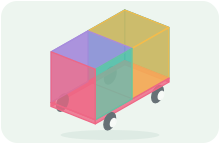
Magnetic Little Car
8 magnetic tiles + 1 car base · 4 steps
Build a colorful car on a two-unit wheeled base
What pieces do you need?
- ×1car bases
- ×8square tiles
Compare with your tile set
Choose the exact set to compare quantities. For other brands or mixed boxes, use each plan’s piece list.
Our little traveler is ready to go! Start with the wheeled base, attach colorful square walls and add a roof. Then take the finished car for a short drive.
Before you build with real tiles
- Gather 1 two-unit magnetic car chassis and 8 square magnetic tiles with matching edges.
- The chassis is 2 units long and 1 unit wide. One unit means the edge length of your own square tile; do not use package dimensions as tile dimensions.
- The short bars show the magnet positions in this model. Check the actual magnet layout on your own chassis.
- In the app, the car carries tiles that are magnetically connected to it. Magnet strength, load limits and tipping still need to be tested with real tiles.
How to build it, step by step
1. Start with the wheeled base
Add in this step: 1 car bases
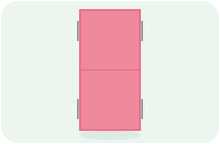
Place one car chassis. Its top is as long and wide as two square tiles laid side by side.
Hands-on tip: Use one magnetic car chassis, 2 units long and 1 unit wide, with magnetic attachment edges for two squares.
Step 1 / 4 2. Build the sides of the car
Add in this step: 4 square tiles
Attach two square tiles along each long side. Line up the magnet bars before letting go.
Hands-on tip: Attach 4 square tiles along the two sides while an adult steadies the chassis. Join the edges that contain magnets.

Step 2 / 4 3. Close the front and back
Add in this step: 2 square tiles
Add one square at the front and one at the back to make a rectangular car body.
Hands-on tip: Attach 1 square tile at each end and check all the connections around the car.

Step 3 / 4 4. Add a roof and take a drive
Add in this step: 2 square tiles
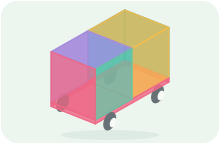
Lay two square tiles flat across the top. Select the car and move it forward a little.
Hands-on tip: Finish with 2 square roof tiles, then gently push the car on a level surface. Adapt the wall connections to the magnet layout of your own chassis.
Step 4 / 4
A little help for grown-ups
You do not need to plan a lesson. Use these prompts when you reach a tricky step, or when your child wants to try an idea of their own.
1. Start with the wheeled base
Find the short magnet bars together. The tires do not have magnets.
See this step2. Build the sides of the car
Gently move the base and notice why the connected walls move with it.
See this step3. Close the front and back
Look from above. How many tiles make each long side and each short side?
See this step4. Add a roof and take a drive
Detach one tile and set it beside the car. Does it still travel with the car?
See this stepTake this plan to the building table
Your subscription includes printing and saving PDF guides: materials, views, building steps and parent tips, ready for your family to use together. A parent manages sign-in and the subscription.
Print / Save as PDF