Dadafu
A family building guide
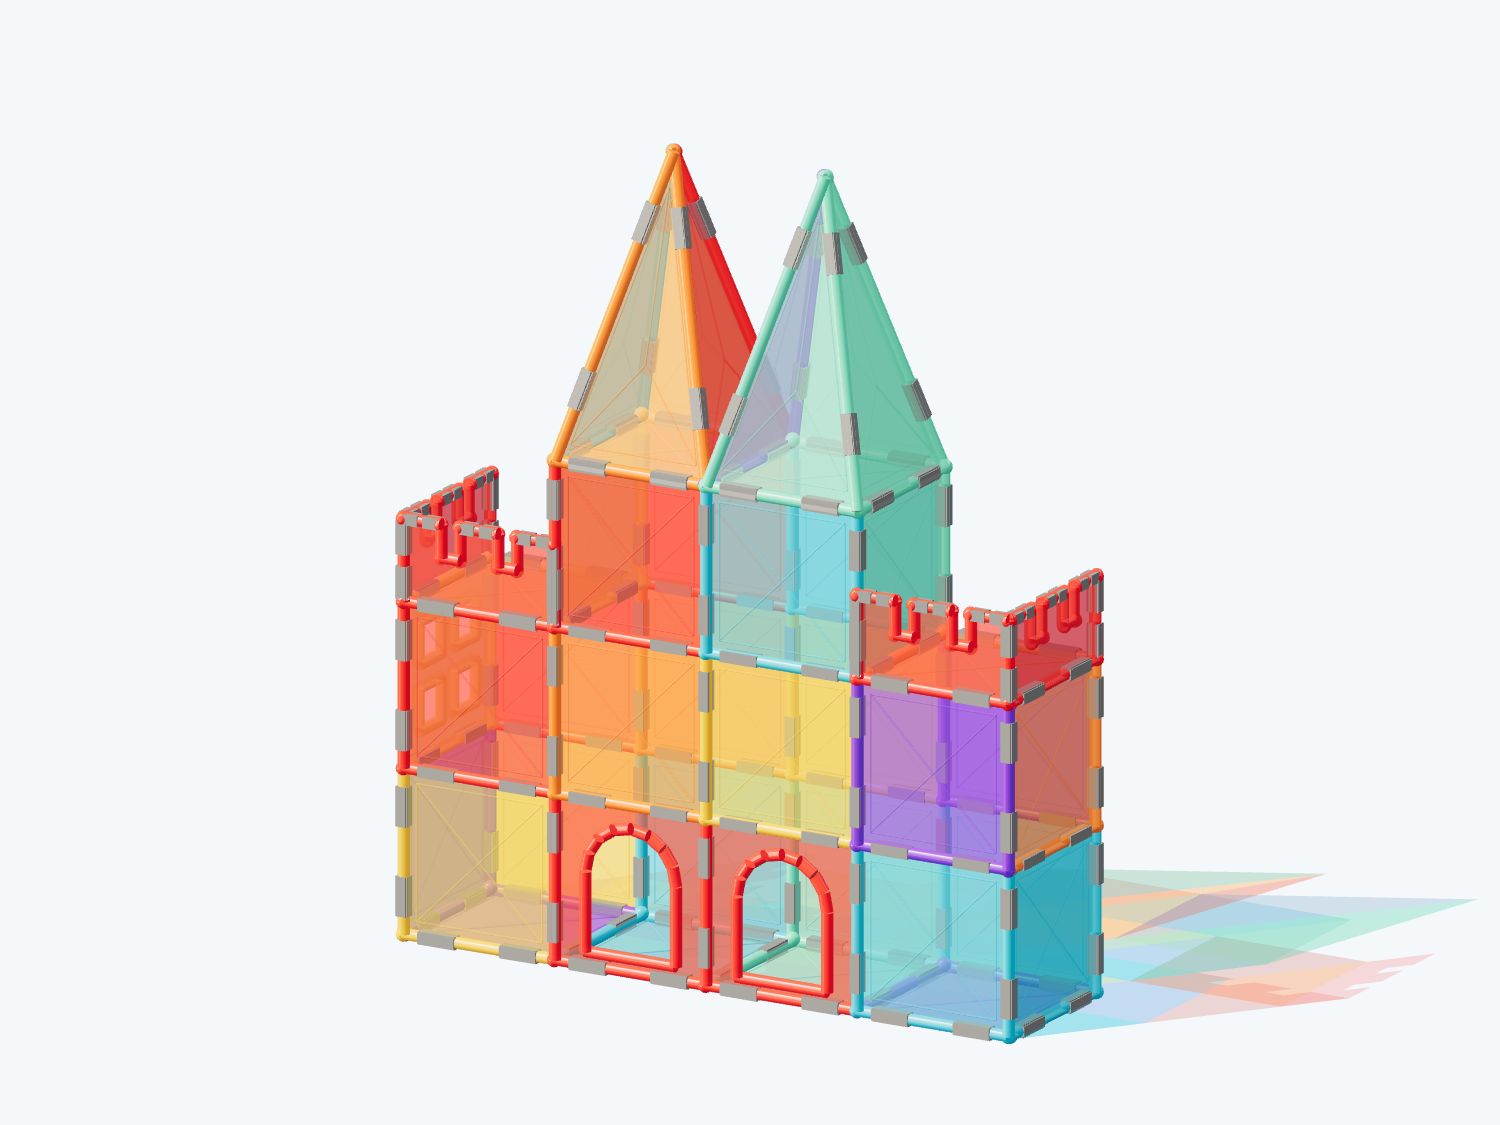
Twin-Spire Rainbow Castle
46 magnetic tiles · 9 steps
Two red doors at the front, with red battlements on the side terraces.
What pieces do you need?
- ×31square tiles
- ×2arch door tiles
- ×1four-pane window tiles
- ×8tall triangle tiles
- ×4battlement tiles
Compare with your tile set
Choose the exact set to compare quantities. For other brands or mixed boxes, use each plan’s piece list.
The two complete spires need eight tall triangles; the pictured 104-piece set lists four, so extra pieces are required.
Close the walls around two red front doors. Then add the twin towers, pointed roofs and battlements.
Before you build with real tiles
- Check the materials list first: two complete spires need eight tall triangles, four more than the four listed in the photographed set. One 104-piece box is not enough for this complete model.
- The body is four tiles wide and one tile deep. The side walls are two levels high and the central towers three. Hidden rear walls, roofs and foundation tiles are counted too.
- Tall triangles and battlements use nominal digital proportions. Check dimensions, magnet positions and strength against your physical pieces.
- Close the wall rings before installing the complete roofs. Assemble each four-triangle cap on the table and have an adult support it while placing it. Digital checks are not a physical trial.
How to build it, step by step
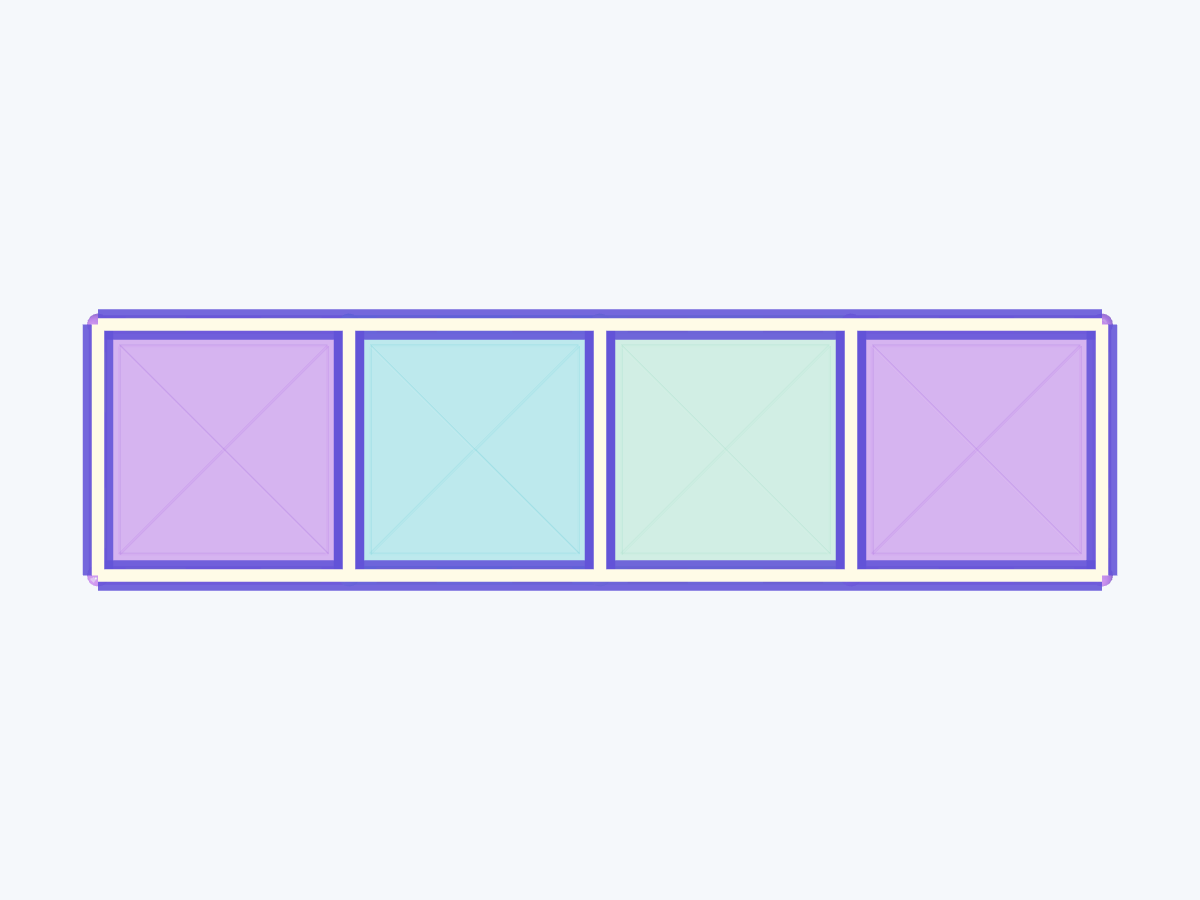
1. Lay out the four-tile foundation
Add in this step: 4 square tiles
Join four squares in a row. The middle two support the tall towers; the ends support lower walls.
Hands-on tip: Lay all four tiles flat and align their edges; substitute colors freely.
Step 1 / 9 2. Build colored wall level 1
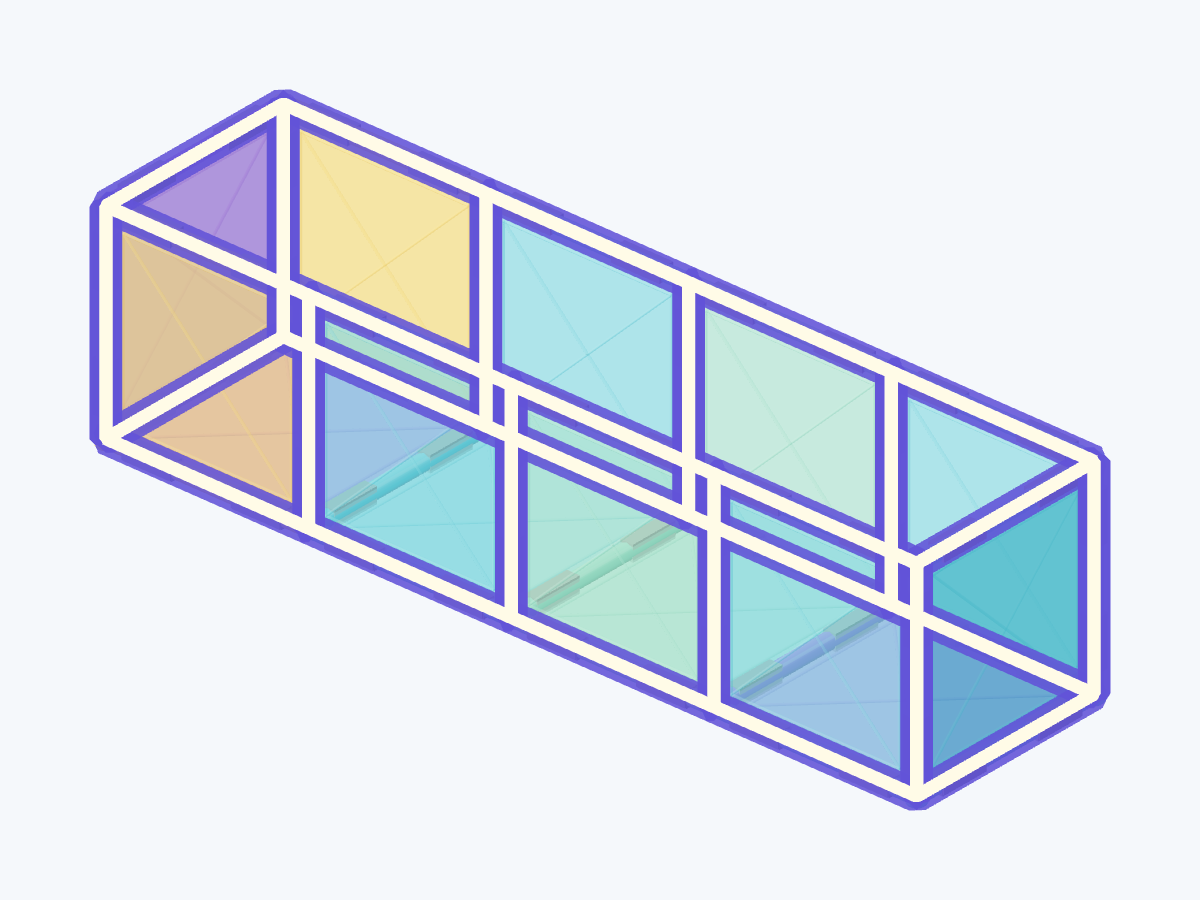
Add in this step: 8 square tiles · 2 arch door tiles
Put two red arch doors in the middle of the front wall. Add squares beside them, along the back and at both ends to close the wall ring.
Hands-on tip: Align the full magnetic edges and close each level. An adult should steady the long walls until the ends are joined.
Step 2 / 9 3. Build colored wall level 2
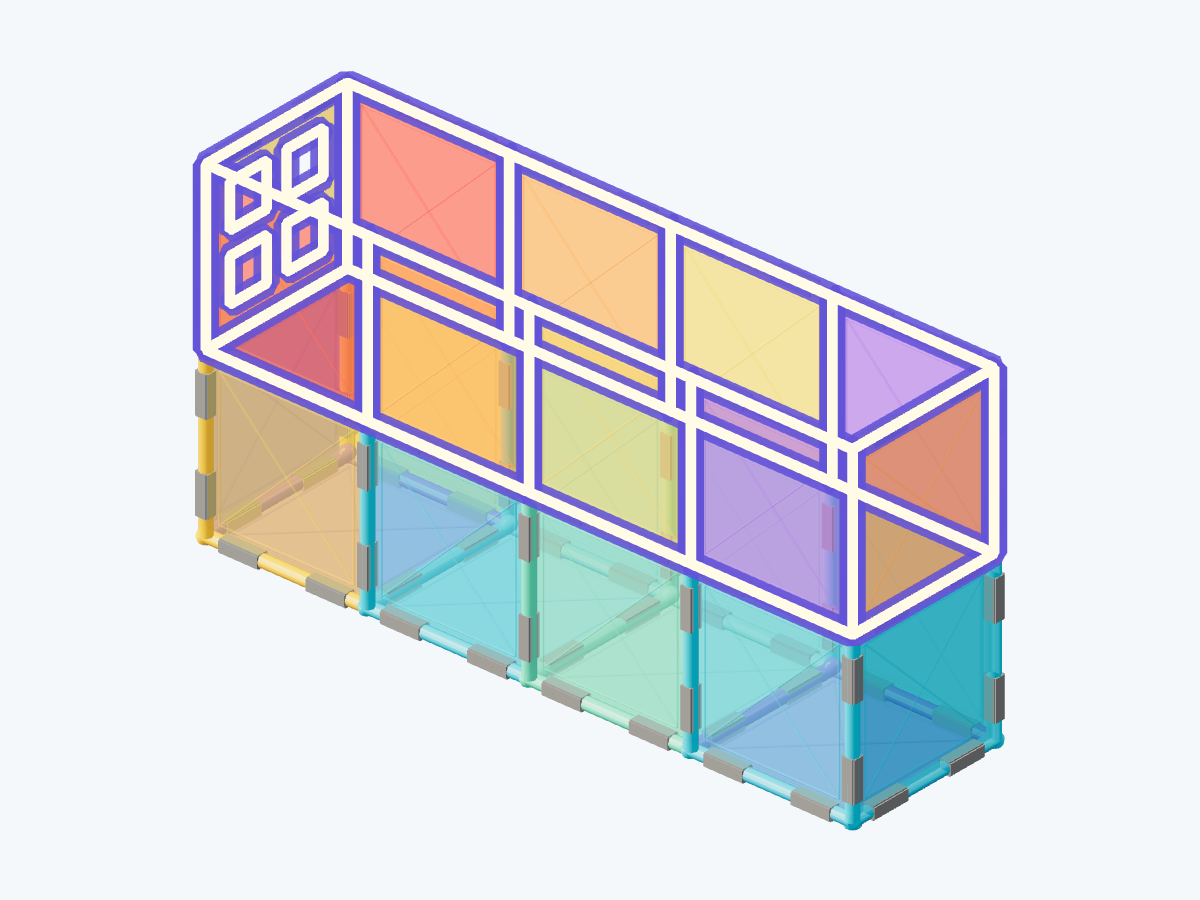
Add in this step: 9 square tiles · 1 four-pane window tiles
Keep the second level four tiles wide. Add a yellow four-pane window on the left; the front runs red, orange, yellow and purple.
Hands-on tip: Align the full magnetic edges and close each level. An adult should steady the long walls until the ends are joined.
Step 3 / 9 4. Roof the two lower terraces
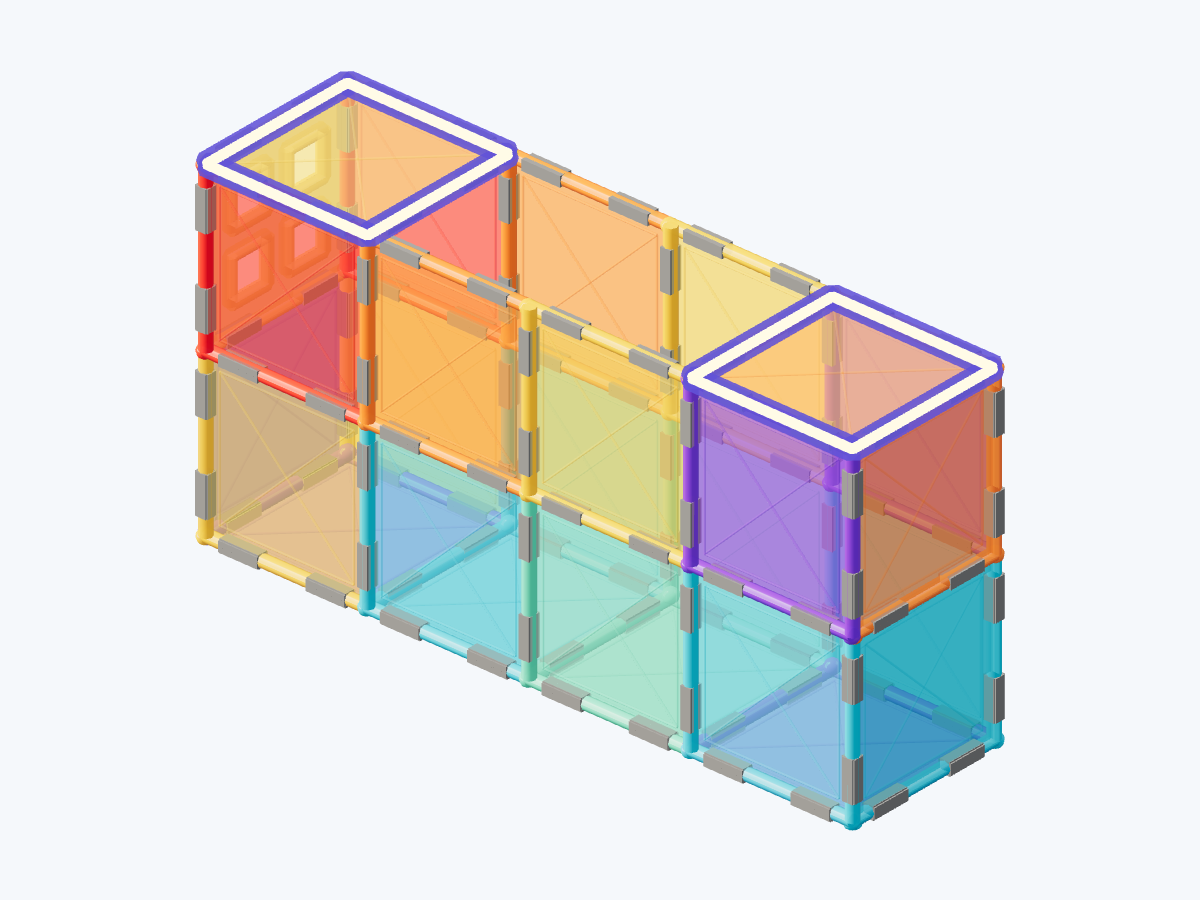
Add in this step: 2 square tiles
Roof the two end sections at two levels high. Keep the middle open for the taller towers.
Hands-on tip: Align each roof tile to the wall tops and lower it gently without pressing.
Step 4 / 9 5. Raise the middle twin towers
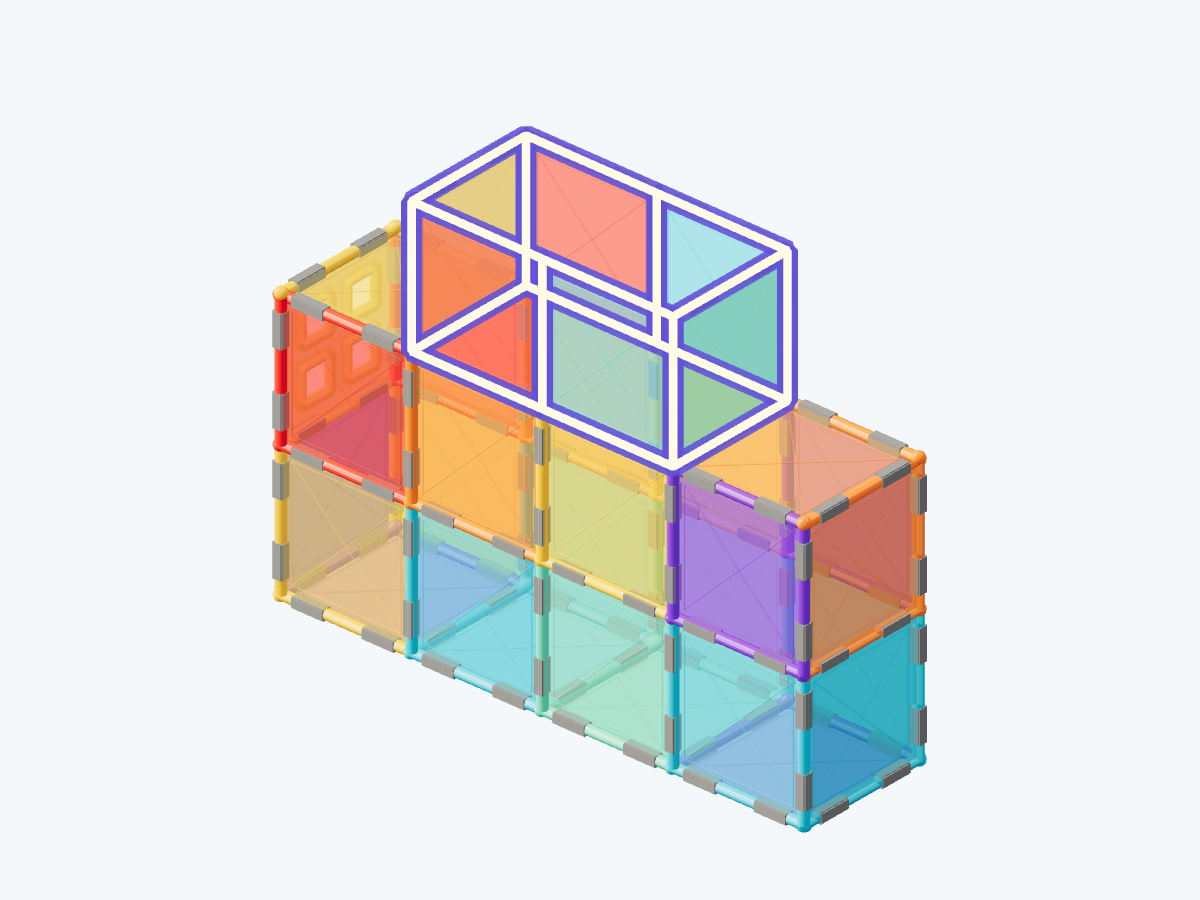
Add in this step: 6 square tiles
Add a third level only over the middle two cells: red and blue at the front and back, plus a side wall at each end.
Hands-on tip: Close the six-tile ring. Align the side walls to the edges of the lower walls or finished terraces.
Step 5 / 9 6. Close the two tower tops
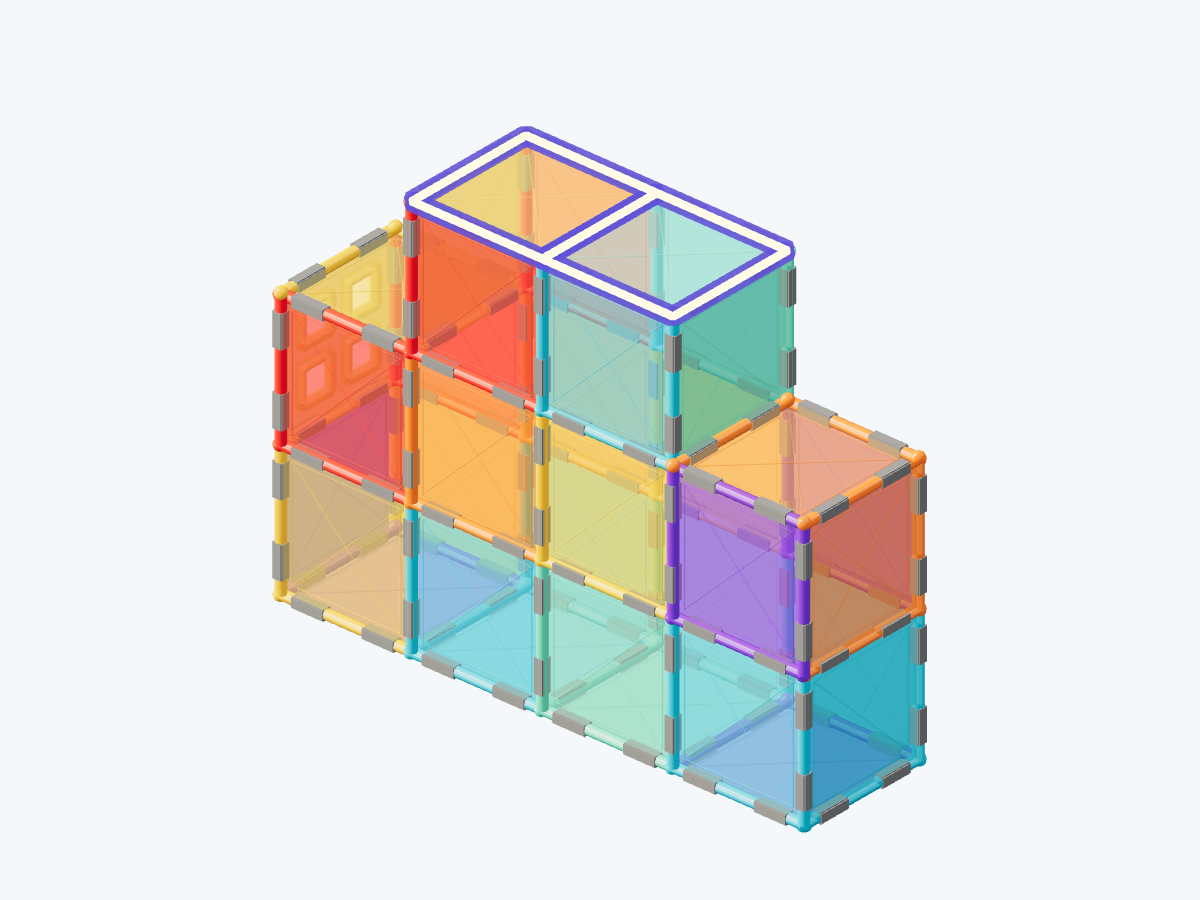
Add in this step: 2 square tiles
Place one square over each central cell to give each spire a complete four-edge base.
Hands-on tip: Join both front and rear walls. Align the center seam without overlapping tiles.
Step 6 / 9 7. Assemble the slender left spire
Add in this step: 4 tall triangle tiles
Join four tall triangles into a complete cap with an orange front and blue side. Lift it onto the left tower.
Hands-on tip: Close all four sloping seams on the table, then support the complete cap with both hands while placing it.

Step 7 / 9 8. Place the matching right spire
Add in this step: 4 tall triangle tiles
Use four more tall triangles for a green-fronted cap with a purple side. Both spires should reach the same height.
Hands-on tip: Close all four faces before placing the cap on its own four-edge base; do not rest one spire on the other.

Step 8 / 9 9. Finish the side battlements
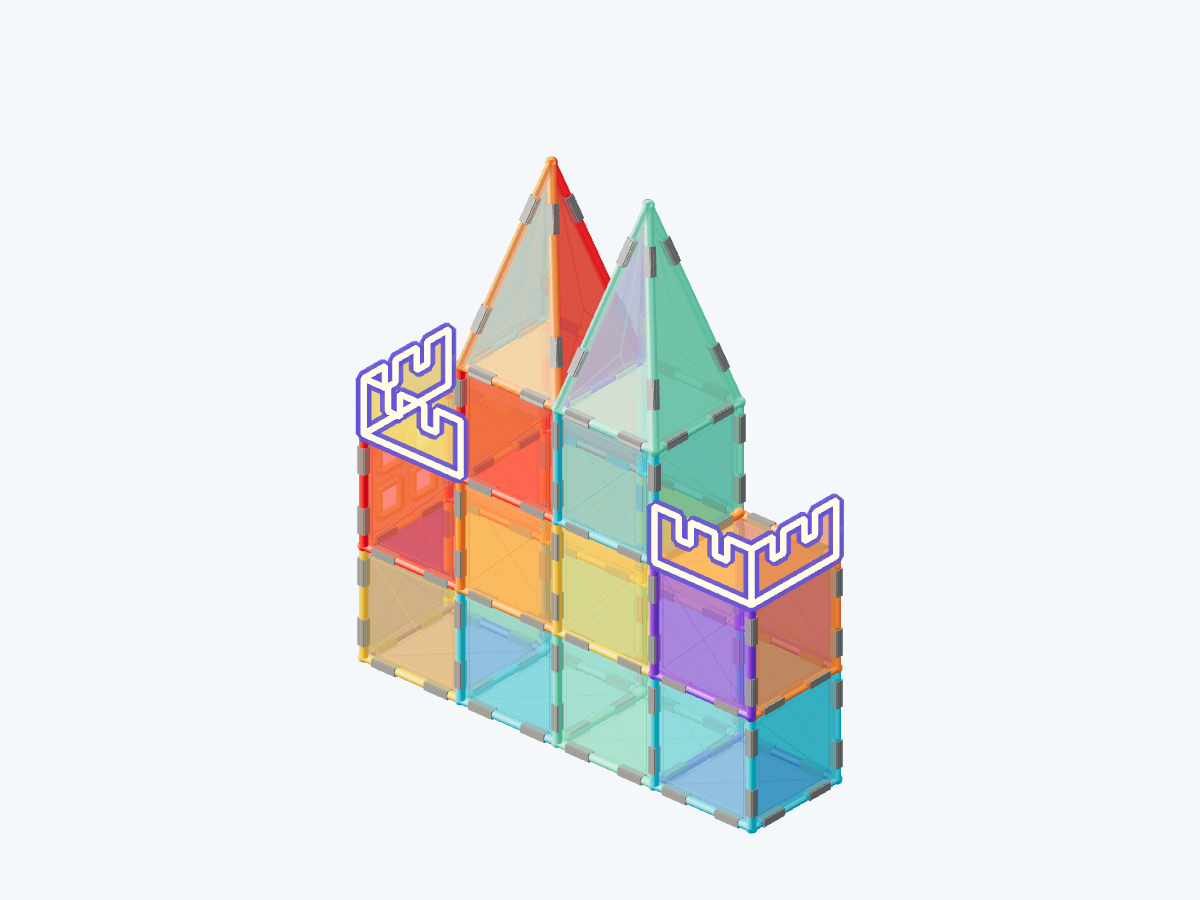
Add in this step: 4 battlement tiles
Add two red battlements to each terrace: one across the front and one along the outer edge.
Hands-on tip: Join each full bottom edge to a terrace edge with the teeth facing up; do not use the teeth to support other tiles.
Step 9 / 9
A little help for grown-ups
You do not need to plan a lesson. Use these prompts when you reach a tricky step, or when your child wants to try an idea of their own.
1. Lay out the four-tile foundation
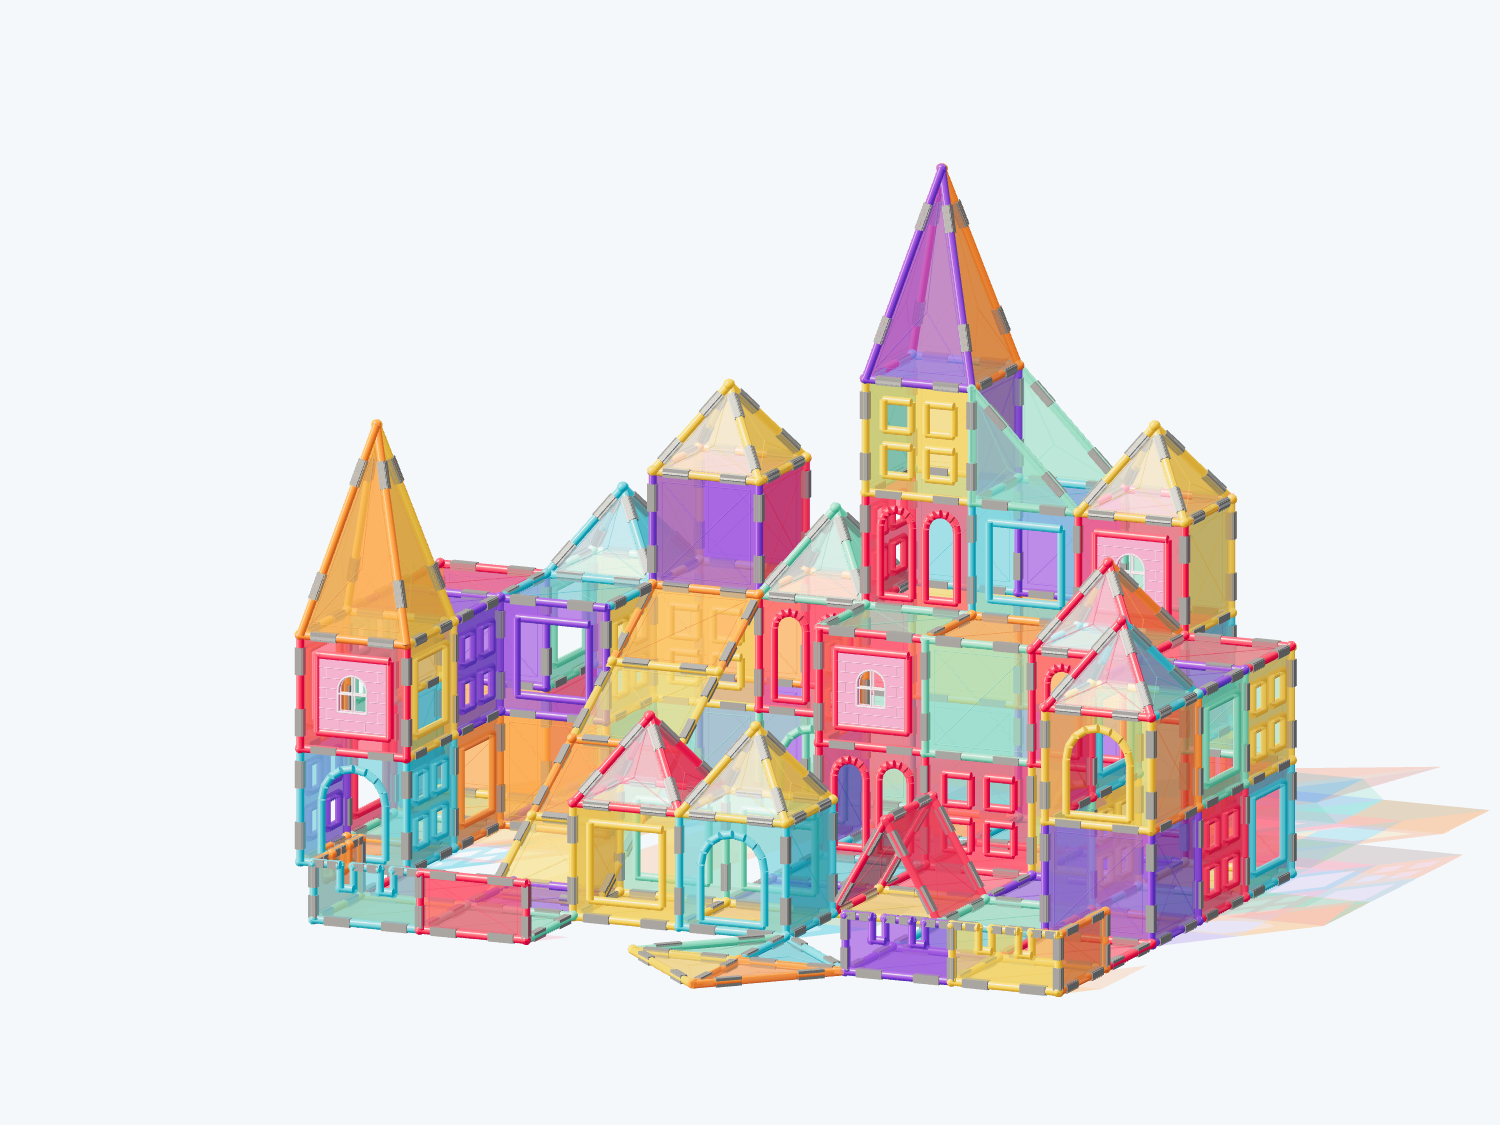
Find the twin spires and lower terraces in the finished picture.
See this step2. Build colored wall level 1
Check the front and side views to see the depth of the building.
See this step3. Build colored wall level 2
Check the front and side views to see the depth of the building.
See this step5. Raise the middle twin towers
Find the middle seam; one pointed roof will stand on each side.
See this step7. Assemble the slender left spire
Compare with the photograph: the slender spires define this castle.
See this step9. Finish the side battlements
Put the screen away and bring the castle story to life with your physical tiles and figures.
See this stepTake this plan to the building table
Your subscription includes printing and saving PDF guides: materials, views, building steps and parent tips, ready for your family to use together. A parent manages sign-in and the subscription.
Print / Save as PDF