Dadafu

A family building guide
Rainbow Castle
16 magnetic tiles · 5 steps
A pointed tower, a walk-through passage and a welcome plaza
What pieces do you need?
- ×12square tiles
- ×4equilateral triangle tiles
Compare with your tile set
Choose the exact set to compare quantities. For other brands or mixed boxes, use each plan’s piece list.
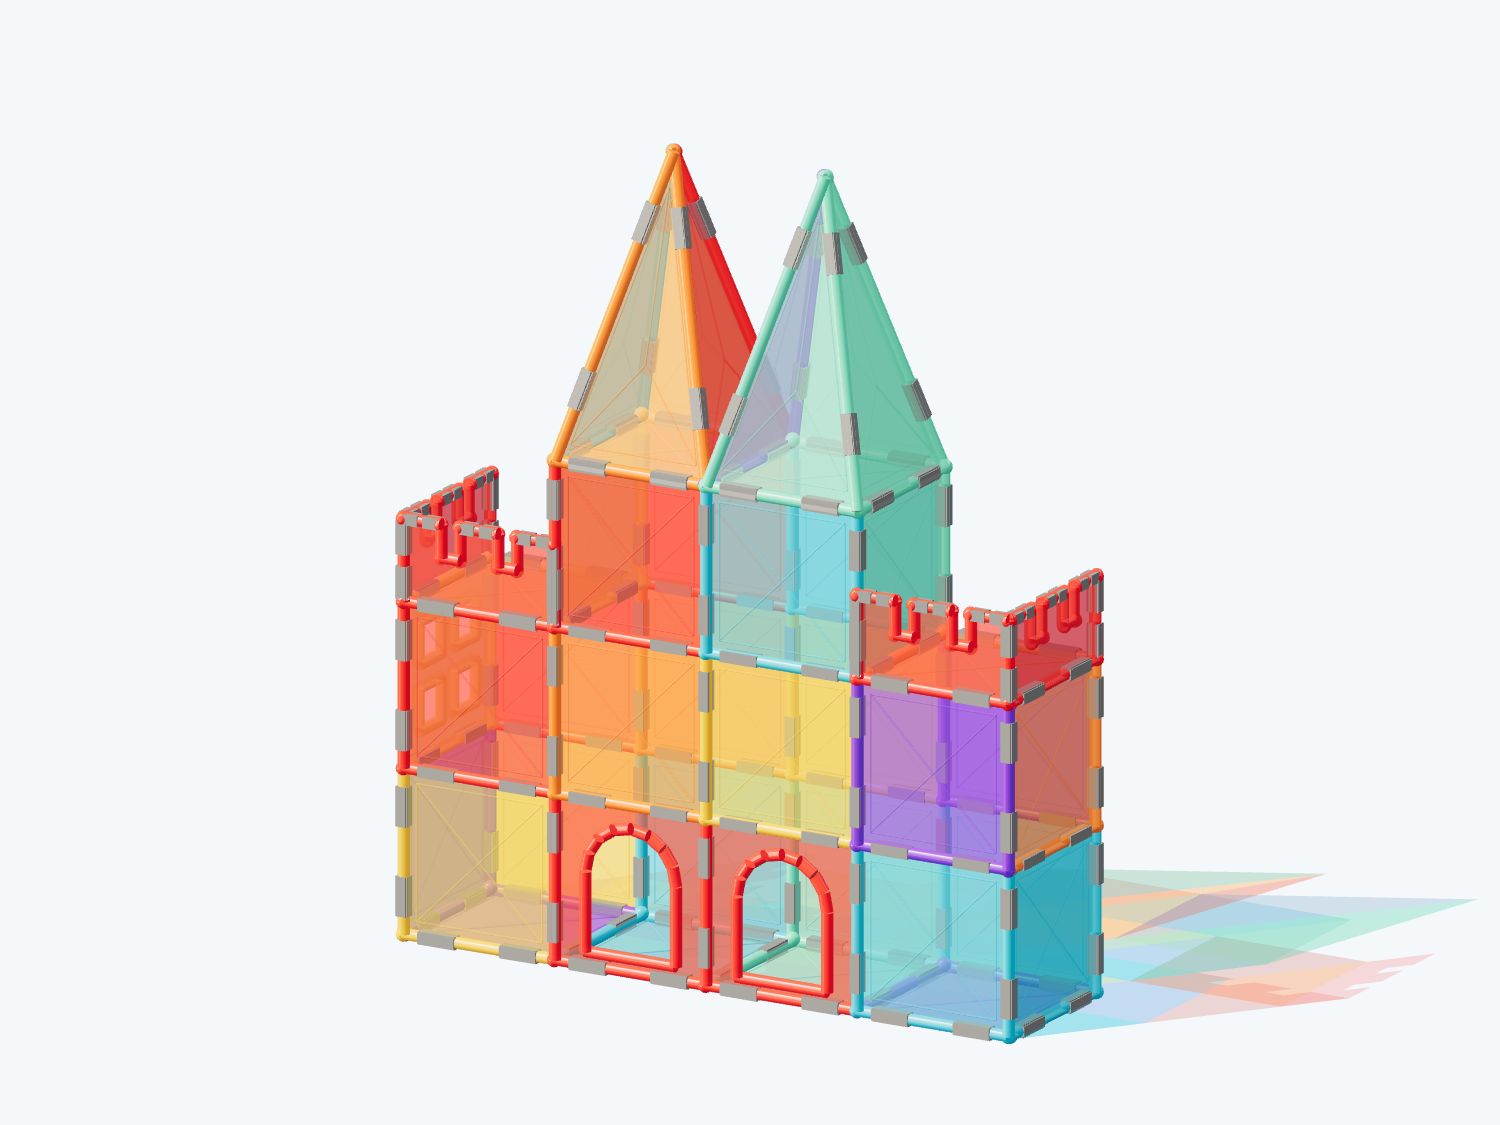
The rainbow castle is ready to welcome friends. Build a small pointed tower and an open passage, then lay a colorful plaza in front.
Before you build with real tiles
- Use 12 square tiles and 4 equilateral triangles with matching edges. Any colors work.
- The tower and passage share the middle wall. Do not put two tiles in the same place.
- Four squares make the 2 × 2 plaza at the front. One more square makes the exit path behind the passage.
- Assemble the pointed roof separately, then have an adult support it as you place it. Test the physical model with your own magnetic tiles.
How to build it, step by step
1. Lay two floors side by side
Add in this step: 2 square tiles
The left square is for the tower. The right square is for the walk-through passage.
Hands-on tip: Join two square tiles along one edge and lay them flat on the table.

Step 1 / 5 2. Build three walls around the tower
Add in this step: 3 square tiles
Stand three walls around the left floor. Leave the side facing the plaza open as the entrance.
Hands-on tip: Use one shared wall in the middle: it is the tower's right wall and the passage's left wall.

Step 2 / 5 3. Add the low passage
Add in this step: 2 square tiles
Stand the right wall, then cover the passage with a flat square roof. Leave both ends open.
Hands-on tip: Attach the right wall before laying the roof across it. Do not add front or back walls to the passage.

Step 3 / 5 4. Give the tower a rainbow roof
Add in this step: 4 equilateral triangle tiles
Four triangular points meet above the tower. Now it is taller than the passage beside it.
Hands-on tip: Join four equilateral triangles into a complete pointed roof beside the model. An adult supports it while you place it on the left tower.

Step 4 / 5 5. Lay the welcome plaza
Add in this step: 5 square tiles
Put four squares in front of the entrances, then add one exit-path square behind the passage.
Hands-on tip: Make a 2 × 2 plaza with four squares, aligned with both entrances. Join the final square behind the passage.

Step 5 / 5
A little help for grown-ups
You do not need to plan a lesson. Use these prompts when you reach a tricky step, or when your child wants to try an idea of their own.
1. Lay two floors side by side
Check that the two squares meet neatly along their shared edge.
See this step2. Build three walls around the tower
Notice how both rooms can use the wall in the middle.
See this step3. Add the low passage
Look through one end of the passage. Can you see out of the other end?
See this step4. Give the tower a rainbow roof
Compare the height of the pointed roof with the flat roof.
See this step5. Lay the welcome plaza
Walk a finger from the plaza, through the passage and out at the back.
See this stepTake this plan to the building table
Your subscription includes printing and saving PDF guides: materials, views, building steps and parent tips, ready for your family to use together. A parent manages sign-in and the subscription.
Print / Save as PDF